If your morning coffee tastes bitter, weak, or just plain off - even though you're using fresh beans - mineral buildup inside your coffee maker is likely the culprit. Over time, calcium and limescale from tap water accumulate in the heating element, water lines, and carafe, slowing brew cycles and affecting flavor. Regular cleaning solves this problem, and you don't need expensive specialty products to do it.
White vinegar is the most popular and accessible cleaning solution for coffee makers. It's inexpensive, effective at dissolving mineral deposits, and safe for most machines when used correctly. However, vinegar isn't always the best choice - some manufacturers warn against it, and commercial descalers are formulated to work faster and rinse cleaner in certain situations.
This guide walks you through the complete vinegar cleaning method step-by-step, then explains when a commercial descaler makes more sense. You'll learn how often to clean based on your water hardness and usage, what to watch out for with different machine types, and how to decide which approach fits your routine. By the end, you'll know exactly how to keep your coffee maker running smoothly and your coffee tasting the way it should.
Why You Need to Regularly Clean and Descale Your Coffee Maker
Every time you brew coffee, your machine's internal components come into contact with water. If you use tap water, it carries dissolved minerals - primarily calcium and magnesium - that gradually accumulate inside the water reservoir, heating element, and internal tubing. This mineral buildup is called scale, and it's the single biggest threat to your coffee maker's performance and longevity.
Scale forms as a hard, chalky deposit that restricts water flow through narrow passages. As these deposits thicken, your machine has to work harder to push water through, which slows brew time and strains the heating element. You'll notice the first signs when your coffee takes longer to brew or when the final cup tastes flat, bitter, or slightly metallic. The minerals don't just affect flavor - they create an insulating layer on heating elements that forces the machine to use more energy and run hotter, accelerating wear on internal components.
Left unchecked, scale buildup leads to uneven water temperature during brewing, which directly impacts extraction. Coffee brewed at inconsistent temperatures pulls fewer flavor compounds from the grounds, leaving you with weak or sour-tasting coffee even when you're using quality beans and the right grind size. In severe cases, scale can completely block water lines, causing the machine to sputter, leak, or stop working altogether.
Regular cleaning and descaling aren't emergency repairs - they're routine maintenance that keeps your coffee maker functioning as designed. Most manufacturers recommend descaling every one to three months, depending on your water hardness and how often you brew. If you use hard water or brew multiple pots daily, you'll need to descale more frequently. Cleaning the external parts and removable components weekly prevents coffee oil residue and mold growth, while descaling addresses the invisible mineral deposits inside the machine.
Think of descaling the same way you'd think of changing your car's oil: it's a small investment of time that prevents expensive problems down the road. A coffee maker that's descaled on schedule will maintain consistent brew temperature, deliver better-tasting coffee, and last years longer than one that's neglected. The process itself is straightforward, and whether you choose vinegar or a commercial descaler, the goal is the same - dissolve and flush out mineral deposits before they compromise your morning cup.
The Vinegar Method: A Step-by-Step Cleaning Guide
White vinegar is an effective, affordable cleaner for removing mineral deposits and coffee oils from your machine. This method works best for routine maintenance every 1 - 3 months, depending on your water hardness and brewing frequency.
What You'll Need
- White distilled vinegar (5% acidity)
- Fresh water
- Clean dish towel or sponge
- Empty sink or bowl
Step-by-Step Cleaning Process
Step 1: Prepare the Solution
Mix equal parts white vinegar and water. For most standard coffee makers, use 2 cups of vinegar with 2 cups of water. This 1:1 ratio provides enough acidity to dissolve mineral buildup without being too harsh on internal components.
Step 2: Empty and Prep the Machine
Remove any used grounds and paper filters. Take out the carafe and wash it separately with warm, soapy water. Ensure the brew basket is empty and in place.
Step 3: Pour the Solution
Add the vinegar-water mixture to the reservoir. Do not fill beyond the max line, as the solution needs room to circulate properly during the brew cycle.
Step 4: Run a Brew Cycle
Start a normal brew cycle without coffee grounds. Let the machine run until about half the solution has passed through, then turn off the machine. This allows the vinegar to sit in contact with internal surfaces.
Step 5: Let It Dwell
Allow the vinegar solution to sit inside the machine for 30 - 60 minutes. This dwell time is critical - it gives the acid time to break down stubborn mineral deposits in the heating element and water lines. For heavily scaled machines, extend this to 90 minutes.
Step 6: Complete the Brew Cycle
Turn the machine back on and let it finish brewing the remaining solution. Discard the vinegar water from the carafe immediately - do not let it sit, as it will develop a strong odor.
Step 7: Rinse Thoroughly
This is the most important step. Fill the reservoir with fresh water and run a complete brew cycle. Discard the water. Repeat this rinse cycle at least two more times - three total rinse cycles minimum. Insufficient rinsing is the main reason coffee tastes like vinegar after cleaning.
Step 8: Check for Residual Odor
Smell the carafe and the brew basket. If you detect any vinegar scent, run an additional rinse cycle. Some machines with complex internal tubing may need four or five rinses to completely flush the system.
Step 9: Clean External Parts
While the machine dries, wipe down the exterior, warming plate, and any removable parts with a damp cloth. For the carafe, if coffee stains or vinegar odor persist, fill it with warm water and 2 tablespoons of baking soda, let sit for 15 minutes, then scrub and rinse.
Practical Tips for Better Results
Test Your First Pot: After rinsing, brew a pot of plain water and taste a small amount. If it tastes clean and neutral, your machine is ready. If you detect vinegar, run another rinse cycle.
Timing Matters: Clean your coffee maker in the morning or early afternoon so you can complete all rinse cycles before you need to brew coffee. Rushing the process leads to vinegar-flavored coffee.
Don't Skip the Dwell Time: It's tempting to run the solution straight through, but the pause is what makes vinegar cleaning effective. The extended contact time dissolves scale that a quick pass won't touch.
Hard Water Requires More Frequent Cleaning: If your tap water leaves white spots on dishes or glasses, plan to clean your coffee maker every 4 - 6 weeks rather than quarterly.
When Vinegar Isn't Enough: If you still see white flakes in your coffee after a vinegar cleaning, or if the machine brews more slowly than when new, mineral buildup may be too advanced. This signals it's time to consider a commercial descaler for deeper cleaning power.
Quick Checklist: Vinegar Cleaning Steps
- Mix equal parts white vinegar and water
- Fill the reservoir and start a brew cycle
- Let solution sit for 15 - 30 minutes midway
- Complete the brew cycle
- Run 2 - 3 full cycles with fresh water to rinse
- Wipe down exterior and carafe
Pros and Cons of Using Vinegar for Cleaning
Vinegar is one of the most popular home cleaning solutions for coffee makers, but it's not perfect for every situation. Understanding both its strengths and limitations will help you decide when it's the right choice - and when you might need a different approach.
On the positive side, vinegar is inexpensive and nearly everyone already has it in their kitchen. White distilled vinegar contains acetic acid, which dissolves mineral deposits effectively when buildup is light to moderate. It's also non-toxic and food-safe, so you don't need to worry about harsh chemical residues in your brewing system. For routine maintenance cleaning every one to three months, vinegar performs well and keeps your machine running smoothly without requiring a trip to the store.
However, vinegar does come with drawbacks. The smell is strong and can linger in your machine and your kitchen during the cleaning process. Even after thorough rinsing, some users report a faint vinegar taste in the first few brew cycles, which means you'll need to run multiple water-only cycles - sometimes three or four - to completely clear the system. This uses extra time, water, and electricity.
Vinegar also has limits when it comes to heavy mineral buildup. If you have very hard water or haven't cleaned your machine in many months, vinegar may not dissolve thick scale deposits as effectively as a commercial descaler formulated specifically for that purpose. Additionally, some coffee maker manufacturers explicitly advise against vinegar in their warranty documentation, noting that the acidity can damage certain internal seals, gaskets, or aluminum components over time. Always check your user manual before proceeding with a vinegar clean.
In short, vinegar works well as a low-cost maintenance tool for regular cleaning in machines without warranty restrictions. But if you face stubborn scale, want faster results with fewer rinses, or need to protect your warranty, a dedicated descaler is often the better choice.
What Is a Commercial Descaler and How Does It Work?
A commercial descaler is a formulated cleaning solution designed specifically to remove mineral buildup from coffee makers and espresso machines. Unlike household vinegar, these products use food-safe acids - typically citric, lactic, or sulfamic acid - in precise concentrations engineered for coffee equipment.
Descalers work by breaking down calcium and magnesium deposits (limescale) that accumulate inside your machine's heating element, pipes, and water reservoir. The chemical composition targets mineral bonds without the harsh acidity or lingering odor that vinegar can leave behind. Most commercial formulas are also pH-balanced to avoid damaging sensitive internal components like rubber seals, aluminum boilers, or electronic sensors.
The primary difference between descalers and vinegar comes down to speed, safety, and residue. Commercial descalers dissolve scale faster - often completing a descaling cycle in 15 - 20 minutes compared to vinegar's 30 - 60 minute dwell time. They rinse clean without leaving behind acetic acid residue or smell, which means fewer flush cycles and no risk of vinegar-flavored coffee. Most importantly, appliance manufacturers formulate or approve descalers to preserve warranty coverage, while vinegar use can void warranties on some machines.
Many coffee maker brands - including Keurig, Nespresso, Breville, and De'Longhi - explicitly recommend proprietary or citric-acid-based descalers in their maintenance guidelines. These products are tested for compatibility with specific materials and brewing temperatures, reducing the risk of corrosion or component failure over time.
Commercial descalers are sold as liquids or powder concentrates. Liquid formulas are pre-measured for convenience, while powders offer more control over dilution and longer shelf life. Both types are biodegradable and safe for septic systems when used as directed.
When to Use a Descaler Instead of Vinegar
Vinegar works well for routine maintenance, but there are clear situations where a commercial descaler is the smarter choice. Understanding these scenarios helps you protect your machine and get better cleaning results.
If you live in an area with hard water - where mineral deposits build up quickly - descalers are formulated to tackle heavy calcium and limescale more aggressively than vinegar. They're engineered with chelating agents that bind to minerals and break them down efficiently, often in a single cycle.
Espresso machines and single-serve brewers with complex internal pathways benefit from descalers because these solutions are designed to flow through narrow tubing without leaving residue. Vinegar can sometimes leave a film or require multiple rinse cycles in machines with intricate plumbing, while descalers rinse cleanly.
Warranty protection is another practical reason. Some manufacturers explicitly require the use of their branded descaler or a specific type of descaling product to keep the warranty valid. Check your owner's manual - if it prohibits vinegar or recommends a particular descaler, follow that guidance to avoid voiding coverage.
When you're dealing with visible buildup, slow brew times, or machines that haven't been cleaned in months, a descaler's concentrated formula can restore performance faster. Vinegar may require repeated treatments for the same result.
Finally, if you or anyone in your household is sensitive to the smell of vinegar, or if the odor lingers despite thorough rinsing, switching to a low-odor or odorless descaler eliminates that issue entirely. Some users simply prefer the convenience and predictability of a product designed specifically for the task.
The decision comes down to your water quality, machine type, manufacturer recommendations, and personal tolerance for vinegar's smell and multi-step rinsing process.
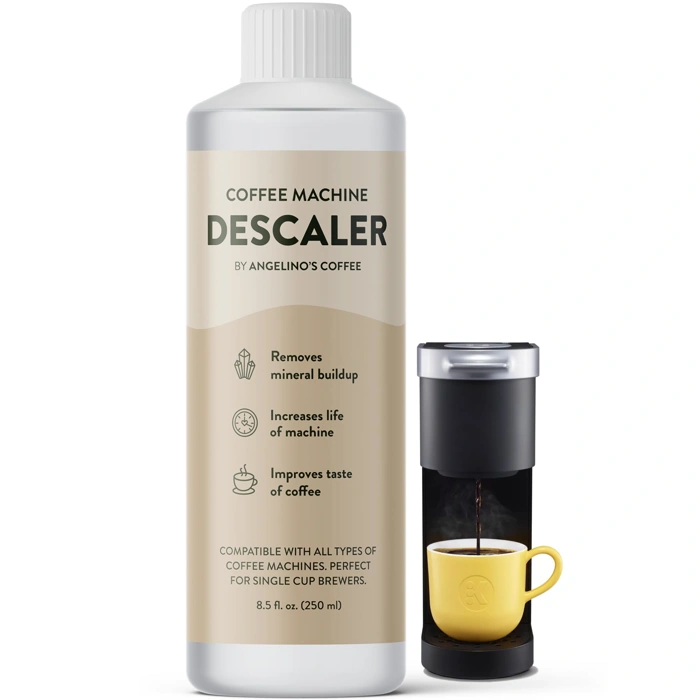
Universal Coffee Descaling Solution and Cleaner
The Universal Coffee Descaling Solution and Cleaner offers a budget-friendly entry point for anyone ready to move beyond vinegar-based cleaning. Priced at $8.49 and widely available, this descaler removes the guesswork that comes with diluting household vinegar and reduces the lingering smell that can affect your next few brews.
With a 4.4 out of 5 rating, this product has earned solid feedback from users who appreciate its straightforward approach. It's designed to work across a variety of coffee maker types, making it a practical choice if you own multiple machines or want a single solution that covers drip brewers, single-serve units, and espresso machines without sorting through brand-specific formulas.
This descaler is particularly well-suited for first-time users who want to see how a commercial product compares to vinegar without committing to a premium price. The low cost means you can test whether the convenience and cleaner finish justify switching your routine, and the in-stock availability makes it easy to add to your regular maintenance schedule.
Keep in mind that while this is an affordable option, you'll still need to follow the dilution and cycle instructions carefully to avoid residue buildup. It won't outperform higher-concentration formulas in heavy-scale situations, but for routine maintenance and moderate mineral deposits, it delivers reliable results at a price point that's hard to beat.
- ✅ Affordable at $8.49, making it easy to try a commercial descaler
- ✅ 4.4 out of 5 rating reflects solid user satisfaction
- ✅ Works across multiple coffee maker types for versatile use
- ✅ Eliminates vinegar smell and guesswork around dilution
- ⚠️ May require careful dilution and rinsing to avoid residue
- ⚠️ Not the strongest option for heavy mineral buildup
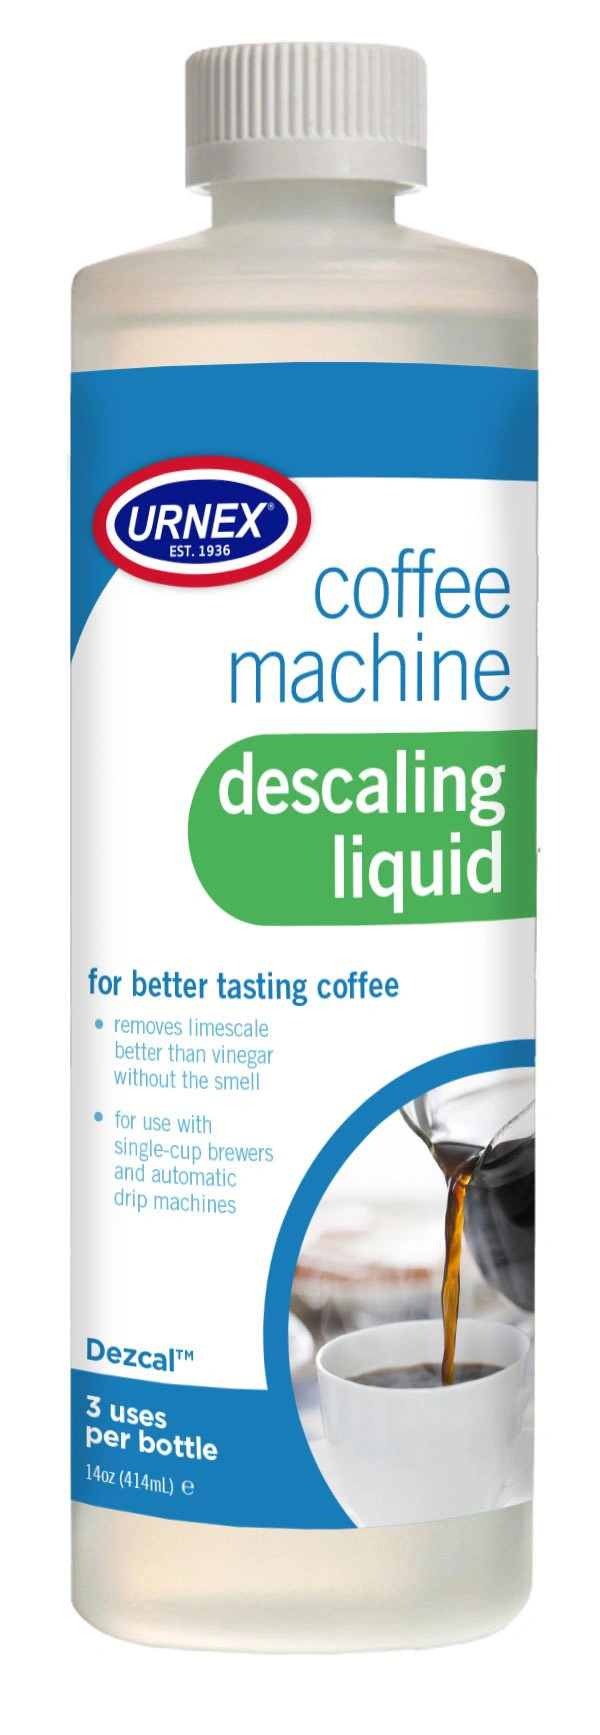
Urnex Coffee Machine Descaling Liquid
For readers with espresso machines, super-automatic brewers, or persistent hard-water buildup, the Urnex Coffee Machine Descaling Liquid offers a professional-grade alternative to vinegar. Priced at $13.99, it costs more than white vinegar but delivers formulation strength trusted in commercial coffee settings.
Urnex earns a 4.6 out of 5 rating and is recognized in the coffee industry for equipment care products. This descaler is odorless, which means you skip the prolonged vinegar smell and the multiple rinse cycles needed to clear acetic acid residue. The liquid format measures and pours easily, and the formulation is designed to dissolve mineral scale without the risk of corroding seals or gaskets in sensitive machines.
Where vinegar requires guesswork on concentration and dwell time, Urnex provides clear dilution ratios and descaling intervals on the label. If your brewer's manual explicitly warns against vinegar - common with brands like Jura, Breville, and DeLonghi - this product respects those restrictions while still removing calcium and lime deposits effectively.
The tradeoff is cost. A bottle handles several descaling sessions, but you'll spend roughly ten times more per use compared to household vinegar. That premium makes sense if you're protecting a $multiple+ espresso machine, dealing with very hard water, or simply want the convenience of a purpose-built formula with no lingering odor.
If you brew daily, run an espresso machine, or your water hardness exceeds multiple ppm, Urnex offers peace of mind that your descaling routine won't void a warranty or leave behind smells. For occasional drip-coffee maintenance in soft-water areas, white vinegar remains sufficient.
- ✅ Professional-grade formulation trusted in commercial settings
- ✅ Odorless - no vinegar smell or extended rinse cycles
- ✅ Clear dilution instructions and descaling intervals on label
- ✅ Safe for espresso machines and super-automatics with warranty restrictions against vinegar
- ⚠️ Costs approximately ten times more per use than white vinegar
- ⚠️ Overkill for basic drip brewers in soft-water areas
How to Use a Descaling Solution (General Steps)
Using a commercial descaling solution is often more effective than vinegar for heavy mineral buildup, and the process is straightforward when you follow the product's instructions. Most descaling solutions work similarly, but always check the label and your coffee maker's manual for specific guidance.
Start by preparing the descaling solution according to the manufacturer's dilution ratio - some concentrates require mixing with water, while ready-to-use formulas can be poured directly into the reservoir. Empty your coffee maker's water tank completely, then fill it with the diluted descaler to the maximum fill line or the amount specified in your machine's manual.
Place a clean container or carafe under the brew head, then start a brew cycle without adding coffee grounds. For drip machines, run a full brew cycle. For single-serve machines, brew the largest cup size setting and repeat until the reservoir is empty. If your coffee maker has a dedicated descaling mode, use that function instead - it's designed to optimize contact time between the solution and internal components.
After the descaling cycle completes, let the machine sit for 15 - 20 minutes if the product instructions recommend a dwell time. This allows the descaler to break down stubborn mineral deposits more effectively.
The rinse phase is critical. Empty the reservoir and rinse it thoroughly under running water to remove any descaler residue. Fill the tank with fresh water and run 2 - 3 complete brew cycles, discarding the water each time. Some machines require more rinse cycles - check your manual. The goal is to flush out all traces of the descaling solution so your next pot of coffee tastes clean.
Watch for any visible residue or chemical smell in the rinse water. If you detect either, run additional rinse cycles until the water runs clear and odor-free. Wipe down the exterior and any removable parts with a damp cloth, and your coffee maker is ready to use.
Cleaning Frequency: How Often to Clean vs. Descale
A simple cleaning schedule prevents mineral buildup and keeps your coffee tasting fresh. How often you clean depends on the task and how heavily you use your machine.
Daily: Rinse the carafe and brew basket after each use. Empty any remaining water from the reservoir at the end of the day to prevent standing water from developing stale odors or harboring bacteria.
Weekly: Wash all removable parts - carafe, lid, brew basket, and filter holder - with warm, soapy water. This removes coffee oils that turn rancid and affect flavor. If your machine has a removable water reservoir, wipe it down weekly as well.
Monthly: Run a full descaling cycle with vinegar or a commercial descaler if you use your coffee maker daily and have moderately hard water. This frequency prevents mineral deposits from building up inside the heating element and water lines.
Every 3 months: If you have soft water, brew fewer than 3 - 4 pots per week, or use filtered water, descaling every three months is usually sufficient. Watch for signs like slower brew times, louder operation, or off-tasting coffee - these indicate it's time to descale sooner.
Every 6 months: Even with soft water and light use, descale at least twice a year to maintain heating efficiency and prevent any long-term mineral accumulation.
Building these tasks into a routine makes maintenance effortless. Set a monthly calendar reminder for descaling, and treat the weekly wash as part of your regular kitchen cleanup. Consistent attention to your coffee maker extends its lifespan and ensures every cup tastes as good as the first.
Your Coffee Maker Maintenance Schedule
- Daily: Rinse carafe and filter basket
- Weekly: Wash all removable parts with soap
- Monthly: Descale with vinegar or descaler (hard water areas)
- Every 3 months: Descale if using soft water
- As needed: Deep clean exterior and warming plate